Projects
The New Project sheet allows you to start a new Project to work in and write code. By default, creating a project will also create a new Solution, but you can also decide to add a new project to an existing, already open, solution.
The New Project sheet can be invoked by choosing "File|New Project..." (⌘⌥N or Ctrl+Shift+N) from the main menu, and it looks like this:
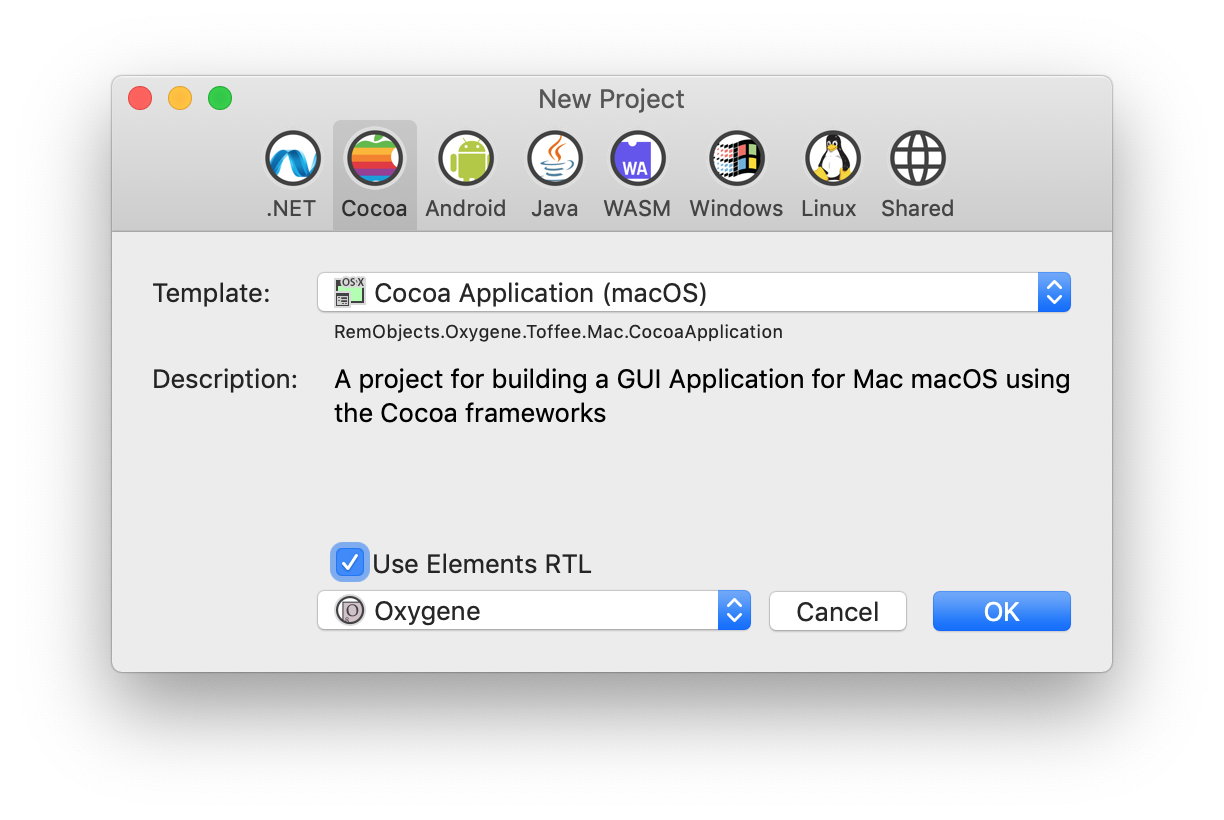
It provides a range of options to choose from:
1. Platform
At the very top, you can choose what platform you want to create a new project for. The choices include:
-
.NET: Projects for the Common Language Runtime, aka .NET. This includes regular .NET (Console, WinForms, WPF), .NET Core, WinRT, Silverlight, Mono and ASP.NET.
-
Cocoa: Projects for Apple's Cocoa platform. This includes macOS, iOS, tvOS and watchOS, using both out classic Toffee back-end as well as the newer Island/Darwin.
-
Android: Projects for the Android platform. This includes Java-based Android SDK apps, as well as extensions using the native Android NDK
-
Java: Projects for the Java Virtual Machine platform. This includes regular Java apps, such as Applets, JSP and Swing.
-
WebAssembly: Projects using Elements in the Browser via WebAssembly.
-
Windows: CPU-Native 32- and 64-bit Windows apps using the Win32 API.
-
Linux: CPU-Native Linux apps for Intel and ARM.
-
Shared: Shared Projects that can contain code and other files that are shared between two or more projects (possibly across platforms).
All of these platforms are of course supported for any of Elements languages.
2. Template Type
In the middle of the sheet, you can select what kind of project you want to create. For most platforms, a wide range of different options will be provided, from a simple console/command line application to sophisticated GUI applications.
Different templates will provide different sets of starting points to help you get started, but of course you are free to change and evolve the resulting code (within the confines of the platform and sub-platform you choose. For example, you may start with a "TableView" app for iOS, but might later replace the provided table view with something else.
3. Language and Options
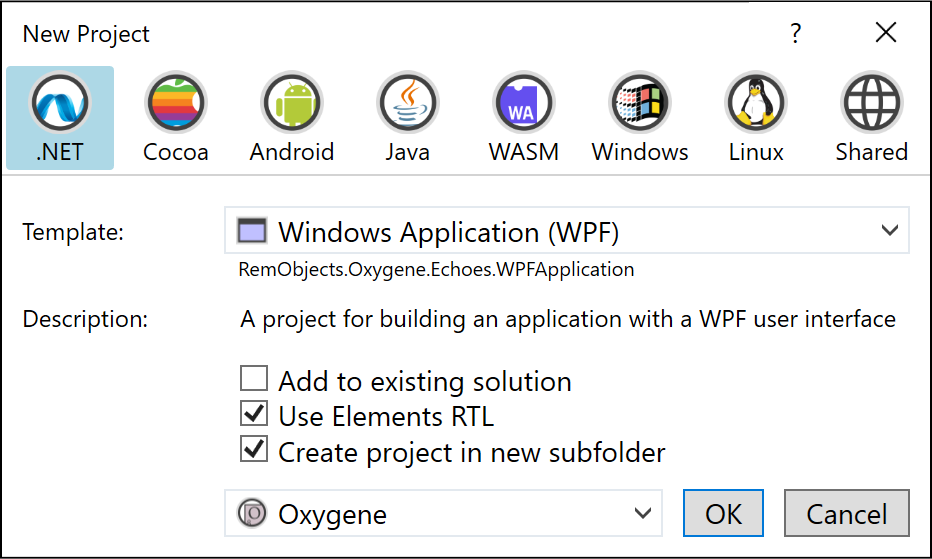
Finally, at the bottom, you can choose which language you want to create your project in. Elements projects are not tied to a specific language, so this choice only affects the code that is initially generated for you – you can add more files using a different language, or even convert/translate your existing code later.
You can also choose whether your project will use Elements RTL by default, or not. Elements RTL provides platform APIs for many basic functions, allowing you to write code that can be ported more easily. (You can always add Elements RTL to your project later.)
If you already have a Solution open, you will also be given the option to decide whether to add the new project to that solution (e.g. if it is a related project), or start a fresh solution (e.g. if you are starting on a new, separate endeavor).
OK
Once you made your choices, press "OK". Fire or Water will ask you for the location on disk where to store your new project, and then open it so that you can get coding!
You can configure the default location where the IDE will offer to save new projects, in Preferences.