Setting up for using Delphi Packages
In order to use Delphi packages, you will need a copy and license of a version of Delphi of your choice installed on your system. If you are working on Mac or Linux, you can use a copy of Delphi installation's bin and lib folders for the SDK import, as outlined in the next step.
Support for Delphi packages is based on an imported "Delphi SDK", and tied to a single version of Delphi per project (i.e. you cannot mix binaries from different Delphi versions in the same application).
As of this writing, Elements support using libraries from Delphi 7 thru Delphi 11, but extensive testing on our side has bene limited to versions 10.3 and above.
Do note that platform and architecture support is limited for older Delphi versions. For example, Delphi only added support for arm64 on macOS as late as Delphi 11, etc.
Importing a Delphi SDK
For legal and deployment licenses reason, Elements does not ship with binaries for the Delphi SDK, so the first step in using Delphi binaries is to import an SDK using the Water's "Import Delphi SDK" menu item, or the --import-delphi option of the EBuild command line tool.
Importing a Delphi SDK in Water
Simply select the "Import Delphi SDKs" option from the "Tools" menu, and Water will present a list of all supported versions of Delphi it finds installed on your system.
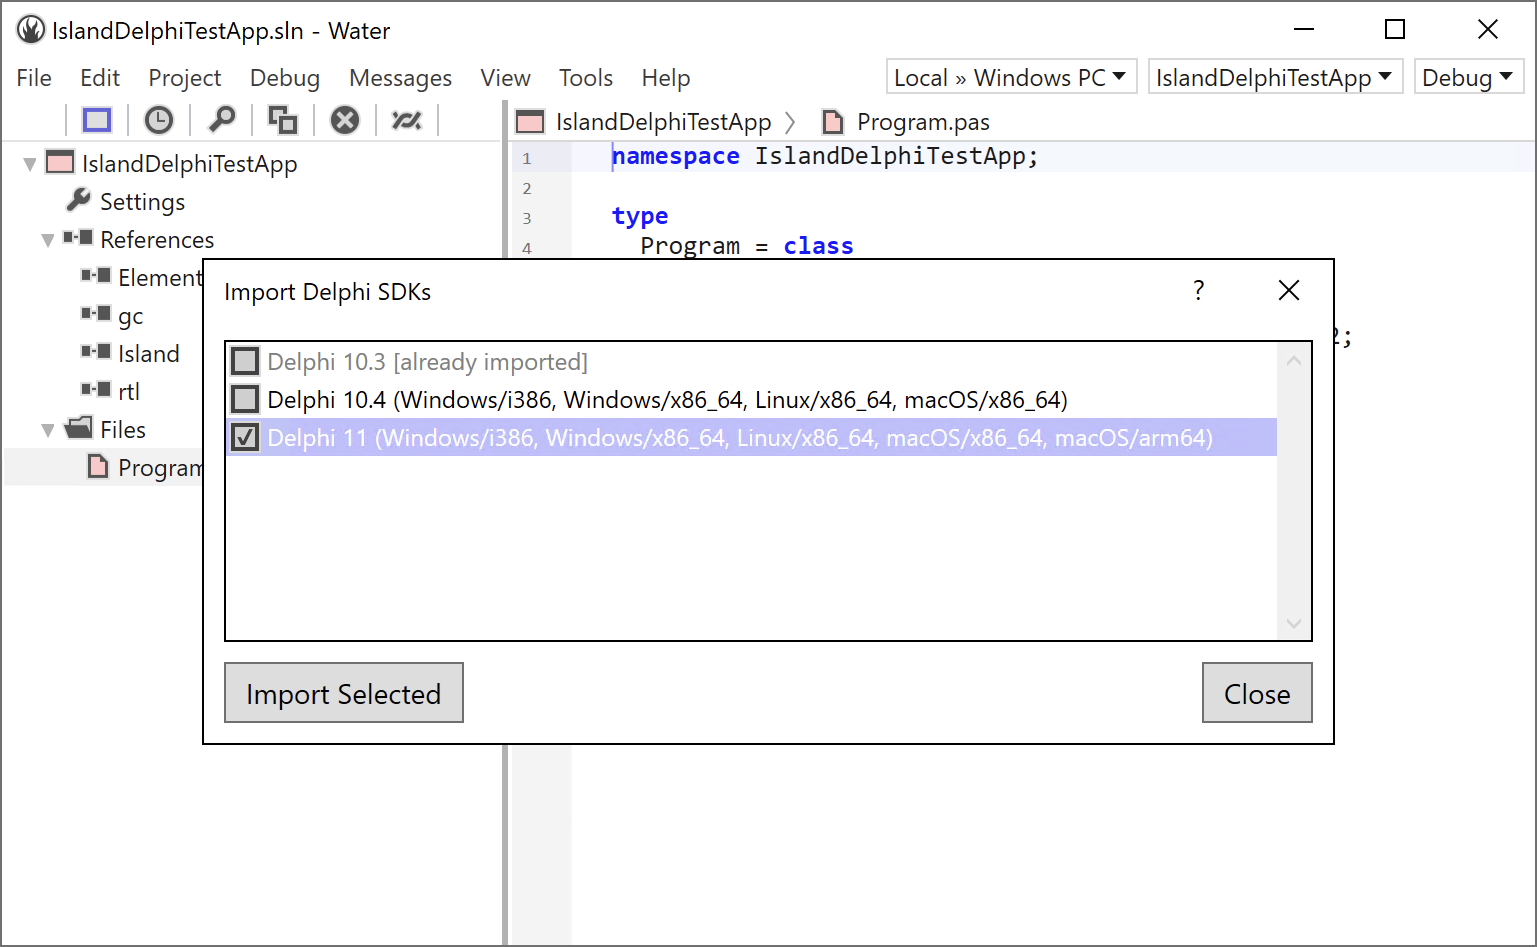
As you see in the screenshot above, Water shows you what platforms are supported (or have support installed) for each version of Delphi, and also which versions you already imported before. You would only need to reimport a version if you upgraded Delphi it to a new .x service-pack version, or if there have been fixes/improvements to the importer that you want to benefit from.
Select the version(s) you would like to import, and click "Import Selected".
Import progress will show in the Build Log pane of Water, which will open automatically.
After the main import of each version/platform of the Delphi SDK, Water will also automatically build the Island.DelphiSupport support library for that version, downloading the source from GitHub if necessary.
Note: you will need to have an active Internet connection and have Git installed for this last step to succeed.
Importing a Delphi SDK with EBuild
From the command line, the Delphi SDK import can be done in three ways, all using the --import-delphi command line switch.
-
You can import support for all versions of Delphi installed on your local Windows system with the
--import-allswitch. This will check the Registry for all (known and supported) versions of Delphi, and import each in turn. This may take a very long time. You can add the--skip-existingoption, if you installed new versions of Delphi, and don't want to reimport the ones already imported previously; otherwise they will all be (re-)imported. -
Alternatively, you can specify a specific version of Delphi by name by specifying, e.g.
--import-delphi "Delphi 11"(note the quotes to preserve the space). If the specified version is not found in the Registry, EBuild will list all versions if did find; if the specified version is not known/invalid/supported ("e.g. "Delphi 5" or "Delphi 27"), EBuild will list all versions it knows about. -
Finally, you can manually point the importer to the root folder of a copy of Delphi (the folder that contains
bin,lib, etc). This is useful if you have a manual Delphi install that is not registered in the Windows Registry, or if you copied these files over to a non-Windows system (Mac or Linux) to run the import.
The imported .fx files will be stored in a well-defined location1, grouped by Delphi version, platform, and architecture.
You can specify the --build-delphi-support command line switch to have EBuild automatically build the (required) Island.DelphiSupport support library.
Once imported, the Delphi SDK is usable from your Island projects.
Using Delphi SDKs on macOS or on a PC w/o Delphi
Of course you can work with projects that depend on Delphi SDKs even if you are working on a computer where you do not (or cannot) have your copy of Delphi installed – for example because it is a Mac and you work in Fire.
You have two options to get your system set up.
For one, you can run the import on your Windows PC where Delphi is installed, and thrn copy the support files over. To do so, go to
%APPDATA%\..\Local\RemObjects Software\EBuild\
on your PC and make a copy of the "Delphi SDKs" and "Delphi Support" subfolders. (Each of them has sub-folders per version, so if you only want to copy over support for a specific version, feel free to copy only the ones you need).
Next, go to the same location on your other PC, or if it is a Mac go to
~/Library/Application Support/RemObjects Software/EBuild/
and place a copy of the subfolders there. You might need to restart Fire (or Water) for it to catch up with the new folders.
For another, you can copy the Bin* and lib folders of your Delphi install(s) over to your other PC or Mac, and run the import with the EBuild command line tool, as described above.
See Also
DelphiObject Model
-
The "
Delphi SDKs" folder in EBuild's root cache folder. ↩