Shared Projects
Shared Projects are a great way to manage files that you want to, well, share between different projects. They come in handy even if you're working on a single platform – maybe you have a few .NET classes you want to use in a desktop app and on Windows phone, or you have some generic Cocoa code you want to share between your Mac and your iOS app – but they really shine when you are working across platforms.
What are Shared Projects?
Conceptually, you can think of Shared Projects as a container for Files. They show up as their own project in your solution in Fire or Visual Studio, and they can hold a bunch of files – usually source files, but they could also hold resources or other content.
On their own, Shared Projects don't do much else. They don't have any project settings and they don't even get compiled on their own. The magic happens when a Shared Project is referenced by a regular project, because all the files contained in the shared project now get compiled (or otherwise used, if they aren't code files) in the real project.
For example, you could have a solution with an iOS project, an Android project and a Windows Phone project, to build three versions of your app for these three platforms. These projects would all contain platform-specific stuff – your iOS project would have view controller code and storyboards, the Android project would have layout files and Activities, and so on. But you would add a forth project, a shared project, that contains all the backend code you want to share between the platforms. Your networking code, your business logic, etc.
You'd maintain those shared files in one place, but they'd get compiled into all three projects, so that their code will end up running on all platforms.
Creating a Shared Project
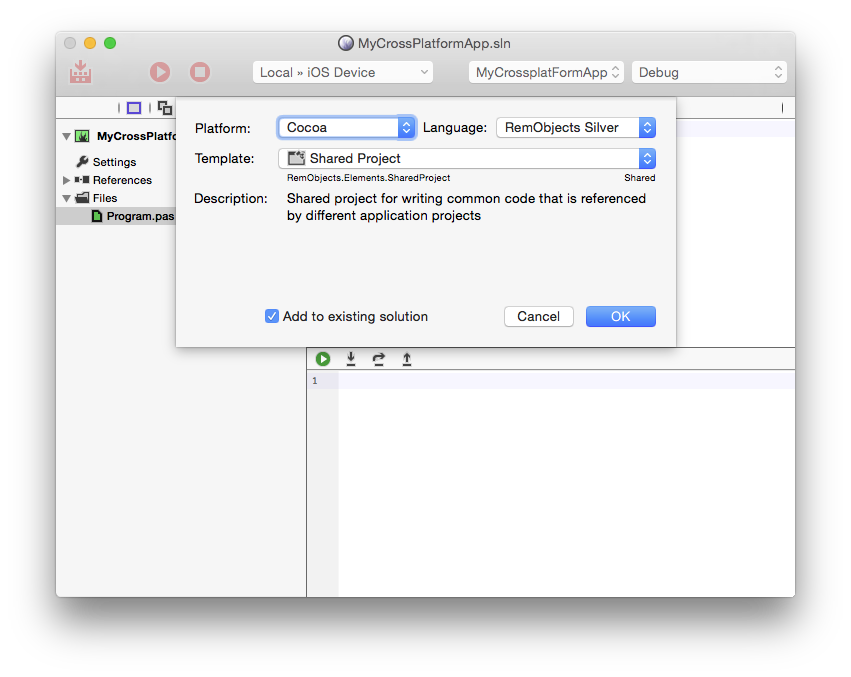
Elements comes with a template to create an empty shared project. Due to the way Project Templates are presented in the IDEs, the template shows under each of the five languages (and in the case of Fire, platforms) but the resulting shared project will be identical no matter wich version you pick, because shared projects are not specific to a platform or language, themselves.
In most cases, you will add a shared project to a solution that already contains one or more "real" projects, so you will do that by right-clicking the Solution Node and choosing "Add New Project" (in Visual Studio or Fire) or by choosing "File|New Project" from the menu and checking the "Add to Existing Solution" checkbox (in Fire).
A new shared project will be added to your solution, distinguished by the round "globe" icon that sets the project apart from regular projects.
Referencing Shared Projects
As mentioned above, shared projects don't really become interesting until they are referenced by one or more (ideally more, because else what's the point) real projects. You add references to a shared project just as you would a normal project reference.
In Visual Studio or Fire, you right-click the "References" node of the real project and choose "Add Reference", and then pick the shared project from the list. In Fire, you can also directly drag a shared project onto the "References" node to add a reference.
As with the project itself, you will notice that shared projects references show the round globe icon instead of the regular "two connected boxes" reference icon.
Once the reference is added, the real project "sees" all the code defined in the shared project, and you can use its types from within the rest of the project.
Because shared projects get compiled as part of their main projects (different than library projects such as .dlls or .a's), you have a lot more flexibility in how code in the shared project and code in the real project can interact. For example, you can have Partial Classes that span across both, and code from the shared project can reference types from the real project, as well.
Working with Code in Shared Projects
In general, there is nothing different about working in shared projects than there is with real projects. You can add files from templates or existing files from disk, and you can remove files. When writing code, you get the full IDE experience, including code completion and other IDE smarts.
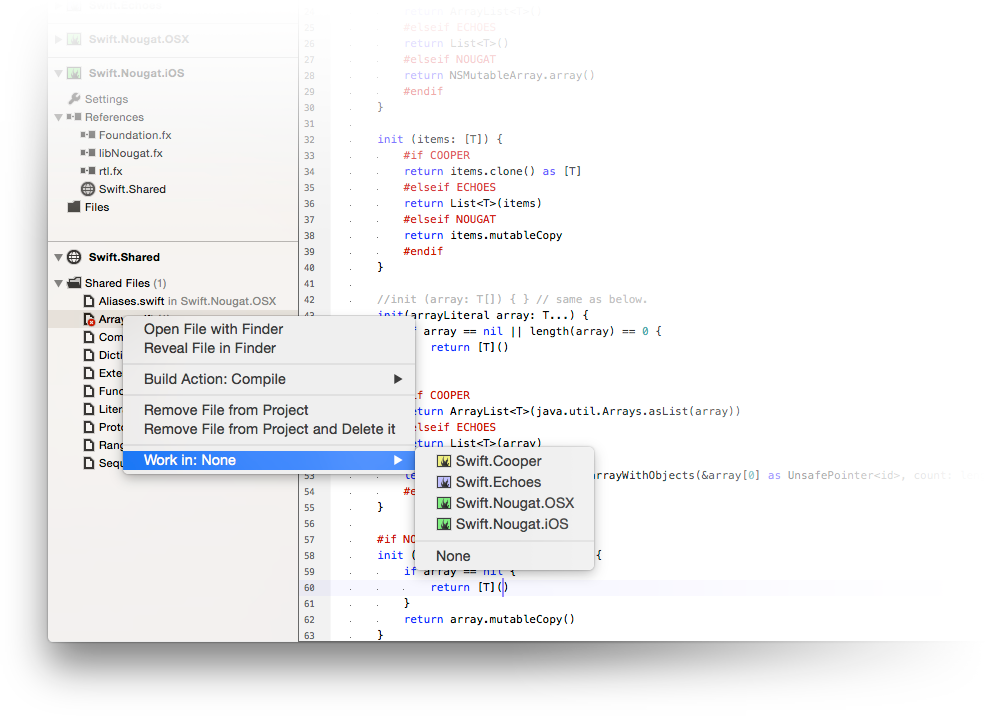
Since it's likely that your shared code is relevant in multiple projects, the IDE provides capabilities for selecting which context you want to work in for each project. For example, you might want to write a part of a shared class that is specific to iOS, and get Code Completion for Cocoa classes, then later on you'll write an Android-specific piece in the same file and want CC fore Java types.
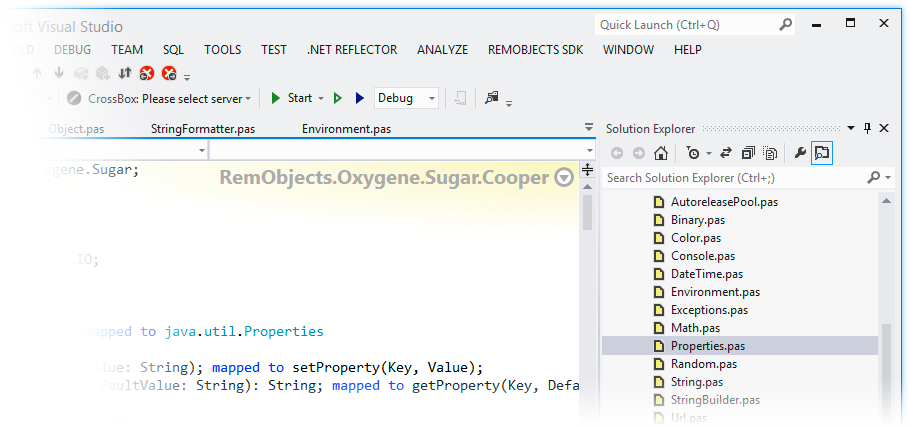
In Visual Studio, you can use the Project Switcher UI at the top of the file to change what context you work in. As you switch between projects, you will see the code highlighting (for example for $IFDEF'ed portions) change to match ,and when you invoke Code Completion, you will see CC based on the context of the selected project.
In Fire, you can right-click files in the shared project in the Solution Tree and select what project you wish to work in – the active project will then show next to the filename. You can do the same on the shared project node to switch over all files in the project in one go.